I now wanted to look at some editing techniques that caught my eye when looking at my inspirations in these blogs Contextual Analysis- Inspiration- Personal Trainer Promotional Videos and Contextual Analysis- How to film workout promotional videos. The reason I want to do this is so I can practice it in the near future before I shoot but first I need to learn it.
Below is the video with the mask in I will also screenshot the mask to show when it appears.
As you can see the shot is just of a woman exercising they then slowly sweep and put some foreground in the shot by sweeping behind one of the workout machines, this then masks into the next shot. So this is something I am going to research into to learn how to do it on Premiere Pro as this is the editing software I will be using.
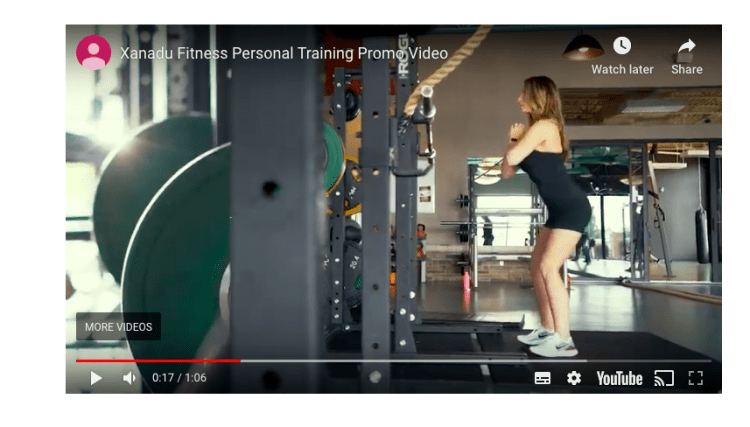
I have found a really good masking tutorial on YouTube that I am going to take information from. Justin says the best way to look for a masking oppurtunity is to find a perfect line from the top and the bottom of the screen so as you can see in the video it is the persons legs, just like in the workout video above the workout bar is a straight line from top to bottom. As soon as the last leg swipes across screen thats when you get the pen tool and draw a mask, when I have drawn the mask in I then need to invert it. Adding some feather to the mask gives it a softer edge so it blends in more. You then move frame by frame and adjust the mask to cover behind the person. Then you go to the very first key frame and move the mask off the screen, then if you watch it through the black mask should follow the person or object in my case frame by frame to the other side of the screen. You then drag the clip you want to mask in under the clip that you are masking.
Watching this tutorial has really helped me learn how to mask from one shot to another so I can do a smooth transition but also it brings variety to keep my audience watching.
I now want to learn about the glitch effect as when doing my inspiration research the glitch/flicker effect is something else that caught my eye as it looks trendy and this is what made me want to make a trendy style video as I love the effects. This is a screenshot og the glitch/ flicker effect it is literally less than half a second but it is very effective.
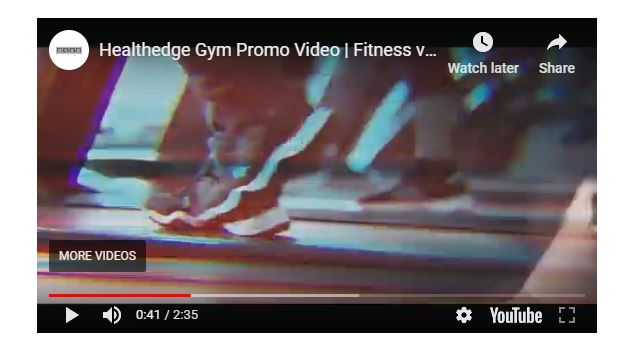
Here is the video from my inspiration blog that the flickers are in, I am now going to do some research on how to make these.
Below is a video by Peter Mckinnon, he speaks about the glitch effect in this video. First of all he goes straight into his footage and make a cut every frame and then deletes every other frame to add a strobe effect. He then dublicates a frame and drags it above itself on the track above. Then he drops the opacity on the top layer to about 50 and then positions it to one side slightly. He then goes to the lumetri tab and plays around with the highlights, contrast, exposure and tint so it looks glitched. He then adds an effect called arithmetic as it gives you your red, blue and green colour channels, he changed the operator over to max and drags the red value to 255 and drags the blending mode to linear dodge (Add), finally he positions it slightly to one side again so it isn’t covering the full bottom layer.
Another filmmaker that I have found who makes a good glitch effect is a YouTuber called Nicolas Burnage and I am going to make some notes of his tutorial below.
The effect he is making is a RGB effect (Red, Blue, Green) he starts off by making three layers one for red, one for blue and one for green. He then applies the RGB curve effects and makes the layers the colors they are by dragging down the curve of the colours he doesn’t want. He then selects the top layer and put the blend mode on screen so it blends all the highlights with the layer underneath it. He then does the same on the second layer down so the image looks the same as it did at the start. He then cuts the top two channels which are red and blue he cuts them every three frames 3. He then does the same as what Peter did above and selects the horizontal position and moves it slightly which already makes a glitcy effect. He then selects the blue layer and drags it the opposite way and it looks really glitchy which is what I want, so he does this and moves the layers in different positions each cut to create a really good glitchy effect. He adapted the duration of it by simply shortening the frames inbetween the cut.
He then shows us another way to do the glitch effect by key framing. So first of all he selects the top layer and clicks on the stop watch next to position to add a key frame and then he just moves the position around. He then also changes the scale to bring another glitch effect in which of course glitches the subject closer. He repeats this for the blue layer but makes slight changes so its not the same postion and scale.
These tutorials have really helped me learn the glitch effects and now I feel like I can practice these, which I will do before the actual production so I know what I am doing when it comes to editing.
YouTube. 2017. TUTORIAL – RGB Glitch Effect – With Adobe Premiere Pro. [online] Available at: <https://www.youtube.com/watch?v=QMrx-BU4Hnc> [Accessed 17 March 2020].
YouTube. 2017. How To GLITCH EFFECT Your Footage!! Premiere Pro Tutorial. [online] Available at: <https://www.youtube.com/watch?v=A0zy6VnjGPw> [Accessed 17 March 2020].
YouTube. (2019). Xanadu Fitness Personal Training Promo Video. [online] Available at: https://youtu.be/DDBfywfCUH4 [Accessed 26 Feb. 2020].
YouTube. 2017. Slick Walk By Transition Effect – Adobe Premiere Pro CC Tutorial (Custom Wipe & Reveal With Masking). [online] Available at: <https://www.youtube.com/watch?v=f6r6UX5gWsw> [Accessed 17 March 2020].
YouTube. (2019). Healthedge Gym Promo Video | Fitness video | Gym Cinematic video | Gym Motivational Video. [online] Available at: https://youtu.be/g3ZNprweps0 [Accessed 26 Feb. 2020].
